
Now I’ve done a photoshoot of a one year old toddler before, but none of a baby. About a month ago I did my first baby shoot of a half year old and her mother and here’s some of my experiences!
Understanding the limitations of the location
Me and the baby’s mother had agreed to do the shoot at their home. We met briefly beforehand and she told me about their home, what is was like and what kind of shooting possibilities would there be. I understood that the living room would be a long room split by a corner sofa. The longer room meant I could use proper portrait lenses and still get the whole baby inside the frame. Baby plus mother inside the frame would probably mean I’d have to resort to a bit wider lens. I had 32mm, 60mm and 90mm equivalent lenses at my disposal, so I thought I would manage just fine. And I did.
Using a flash versus constant light?
The mother had a wish that the pictures could somehow represent the baby’s lively character, meaning that it would be nice to have some action shots as well. This meant that I would need to use high fps mode when shooting in the hopes of capturing a candid moment. I thought about my hand flash set and realised that shooting ~10 frames per second bursts and using flashes would not work because the flash unit needs a couple of seconds between every flash to recharge. So I decided to go with my Falcon Eyes video lighting kit with 4 x 40W bulbs. Constant light meant I could shoot with a fast FPS and not worry about flash triggering during every shot. I also worried a bit about how the child would react to 40 minutes of bright flashes.

Sunshine creates strong shadows
The living room where we shot the pictures was pretty bright because it was early afternoon and the sun was shining directly into the flat. The sunlight was pouring in from a large window and balcony on one side, which meant that the light was basically coming in from one direction. This creates strong shadows and additional lighting was needed to brighten those shadows. Using constant light over flashes meant a couple of things. First, the light produced by the Falcon eyes light is nowhere near as powerful as the YongNuo YN-560 IV flash. I was able to brighten the shadows on the baby’s face by maybe one stop and even then the light had to be really close to the baby, which was not a 100% pleasant experience for the baby. But the one stop was enough with post processing. Secondly, the baby moved around a lot, so moving that light stand around was a bit cumbersome. I did end up shooting a lot of the pictures from the balcony’s side from an angle which did not create strong shadows on the face.
Ambient light – flash – constant light
Next time I think I would try to go with a flash unit on camera and try to keep up with the child’s movement. I would bounce the flash from walls and ceilings to create a more natural fill light for the strong shadows. I would also think about choosing a time of day and location which would not create so stark shadow contrast. Using ambient light only and maybe a reflector could be the best way to work. Reflector would need an operator though, because the child won’t be staying still. I would not use constant light anymore. A mobile lighting solution like bouncing flash could work well when trying to keep up with a very active and moving child.

What would I do differently?
There is a couple of things I would do differently. First, I had my focus confirmation sound on. A silly mistake, it bothered the child. When I turned silent mode on, the shooting became much easier. The sound was on because earlier I had thought about using flash and for some reason the camera won’t fire flash without the sound.
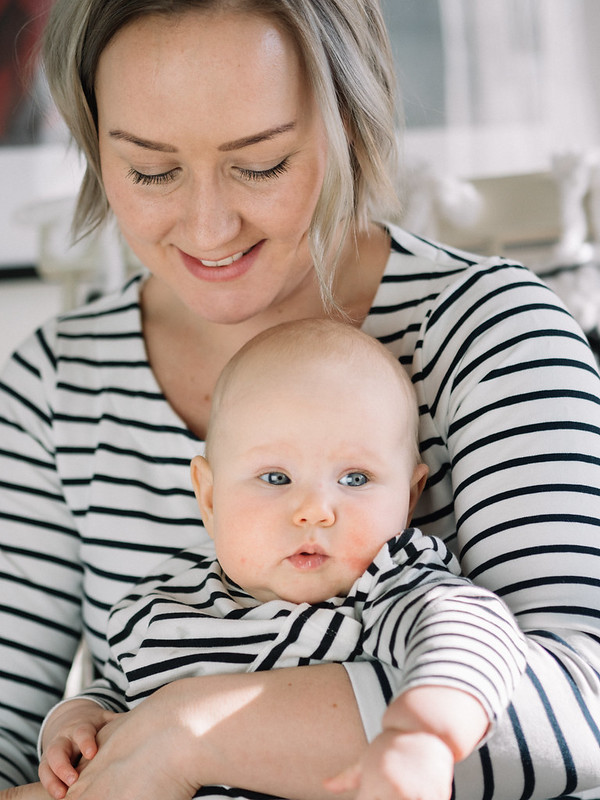
Another part where I would go about differently, is the use of aperture. In most scenarios we had, using an open enough aperture made the room melt away nicely in the background. For tights shots, where the child and mother filled the frame almost entirely, the wide aperture did more harm than good. In those pictures there is no need to make the background melt away, because there is virtually no background to be seen in the picture. I could have used even an f4 aperture instead of the f1.4 or f1.8 aperture I used (MFT sensor). A couple of promising pictures was made unusable by the too shallow depth of field. I would have liked to have both mother’s and child’s faces in focus, but only one of them was.
So recognising situations where background separation is not needed is important. I used only the small screen of the camera, so it was not easy to spot the too shallow DOF during the shoot. I just thought “oh its MFT sensor, the dof will be large enough”. Lesson learned.
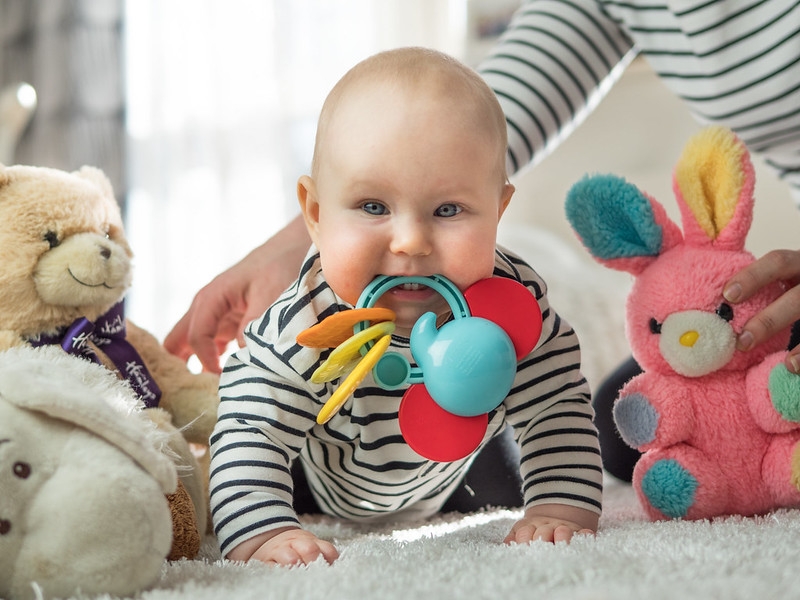
The pictures
I did use the burst mode to capture some a bit more candid action shots. As a practically first timer shooting a half year old child, I wanted to be sure I caught the right expressions. I ended up having 1300 pictures from that 45 minute session. It took me two nights to process the images and narrow them down to the best 17 pics. Oh well! 🙂


Conclusion
I really liked the challenge of doing a baby photoshoot. My baby handling skills aren’t all that good yet and a lot of my attention still goes on the technical side of things. I would need more experience to able to forget the tech side and focus on directing. When shooting, I used a method where I set up a scenario of sorts, shot away and set up the next scenario and shot away. I think you should set up the scenario, shoot some, guide some, shoot some again and evaluate and then think about setting up the next scenario.
I was pleased by the results I was able to get. For my first shoot, I think I did just fine. I gained a lot of insight on shooting baby portraits and maybe next time, I’ll be more wiser! Click here to see more pictures from the set.